Steel
The first step to creating a knife is choosing what steel you want to use. I typically use either 5160 or 1095 carbon steels. I also use 1084 every once in a while, depending on my mood. Though I do not typically produce stainless steel blades, I do have some 440c, 154cm, and ATS34 on hand. I’m always up for experimenting with new steels, so any suggestions are more than welcome!
Forging
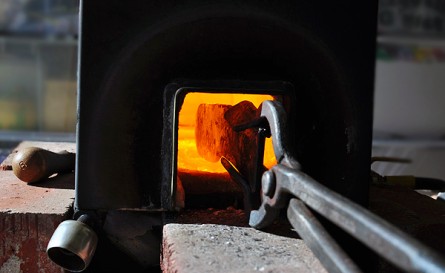
It is important to know what type of blade you plan to make before you start. It is never a good idea to just start forging and see what happens…most of the time, the results will not be to your liking! Before I begin with the forging, I always determine what type of blade I’m going to make, exactly how I want the shape to be, and how big I’m going to make it. I often have a drawing of the blade to use as a template. Once I know what I am going to create, then I am ready for forging. I have a NC Tools Knifemaker Forge that I run off propane. It has two burners and front and rear doors that can be opened to accommodate sword length blades. It’s a great forge and I would recommend it to anyone who can come up with the money.

The NC Tools Knifemaker Forge will heat the steel to around 1800 deg F/982.2 deg C!

Forge to Shape!
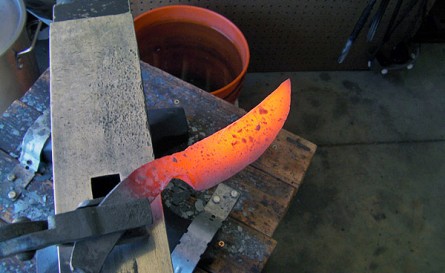
The trick to creating a quality blade without killing yourself is forging the blade to shape. This basically means that, when the forging is complete, the blade should look as close to the finished shape as possible. Of course, it’s easy to grind anything into a blade if I sit at the grinder long enough…but 5 minutes at the forge can save an hour at the grinder. The way I look at it…why bother forging at all if I’m going to grind the blade to something completely different? I really would have just wasted all of my time at the forge.
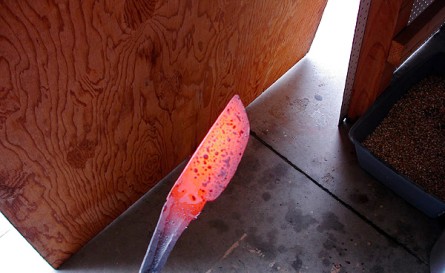
The heating temperature of the steel varies depending on what type of steel is used. While there is a specific temperature that every steel reaches ‘critical’, most smiths learn to gauge it by color. For most common high carbon steels, the best working color is cherry red to dark orange. It is very important that the steel only be hit while it is in this critical or working color range. Once the steel cools down and loses its color, it can crack if it is still being hit. A wise smith once told me, “There are only two reasons a knifemaker will go to hell…one is underselling his product, and the other is hitting cold steel!”
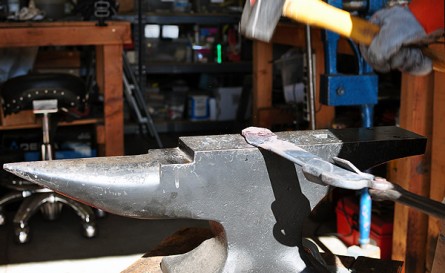
As any smith will tell you, use the biggest hammer that you can ACCURATELY hit with! The larger the hammer, the more steel that can be moved each heating. Accuracy, however, is extremely important…there is very little to match the annoyance of finding stray, unwanted hammer marks when you are at the grinder! I currently use a 3 1/2 pound cross peen hammer for most of my forging. On some larger blades, I will move up to a 6 pound sledge to forge the general shape, then move smaller to fine tune it. On smaller blades, I will even move down to a 1 1/2 pound ball peen just to give me more accuracy.
After the blade is forged to the desired shape, I normalize it in the forge prior to annealing. For this process, I heat the blade to critical and then let it air cool until the color is gone. This allows the grain composition of the steel to spread evenly throughout the blade and relieve any stress clusters that may have formed during the forging. I normalize the blade at least three times.

A Persian influence

Accuracy is key!
I then anneal the blade after normalization. This process consists of heating the blade evenly to critical temperature, then immediately completely burying it in vermiculite. As vermiculite is excellent for retaining heat, this will allow the blade to cool at a very slow rate. With this process, the Austenite formed in heating the blade produces a smaller grain size, softness, and good ductility. This allows for, among other things, ease of grinding.
Back To Crafting Method Grinding the Blade

